 Getting Started Reference
Integration
This document describes the steps required to integrate and use the DarkMatter SDK in a native iOS app.
Requirements
- Xcode 9.0 or higher
Note: You can also use Xcode 8.1 or higher with some restrictions and modifications. See Using Xcode 8.
- Deployment target of iOS 8.0 or higher
Download
Embedding the Framework
- Unzip the DarkMatter SDK and place the files in the desired location in your file system.

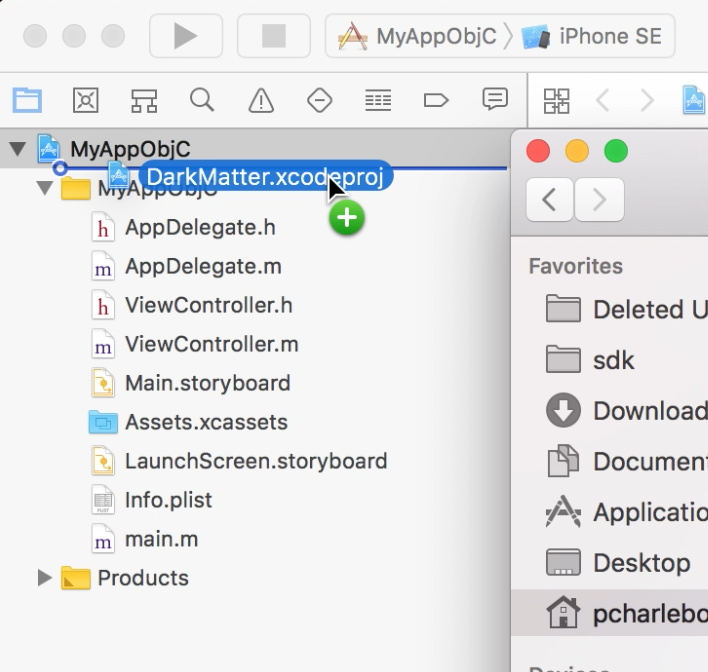
- Drag DarkMatter.xcodeproj from Finder into your project in the Xcode project navigator to add it as a subproject.
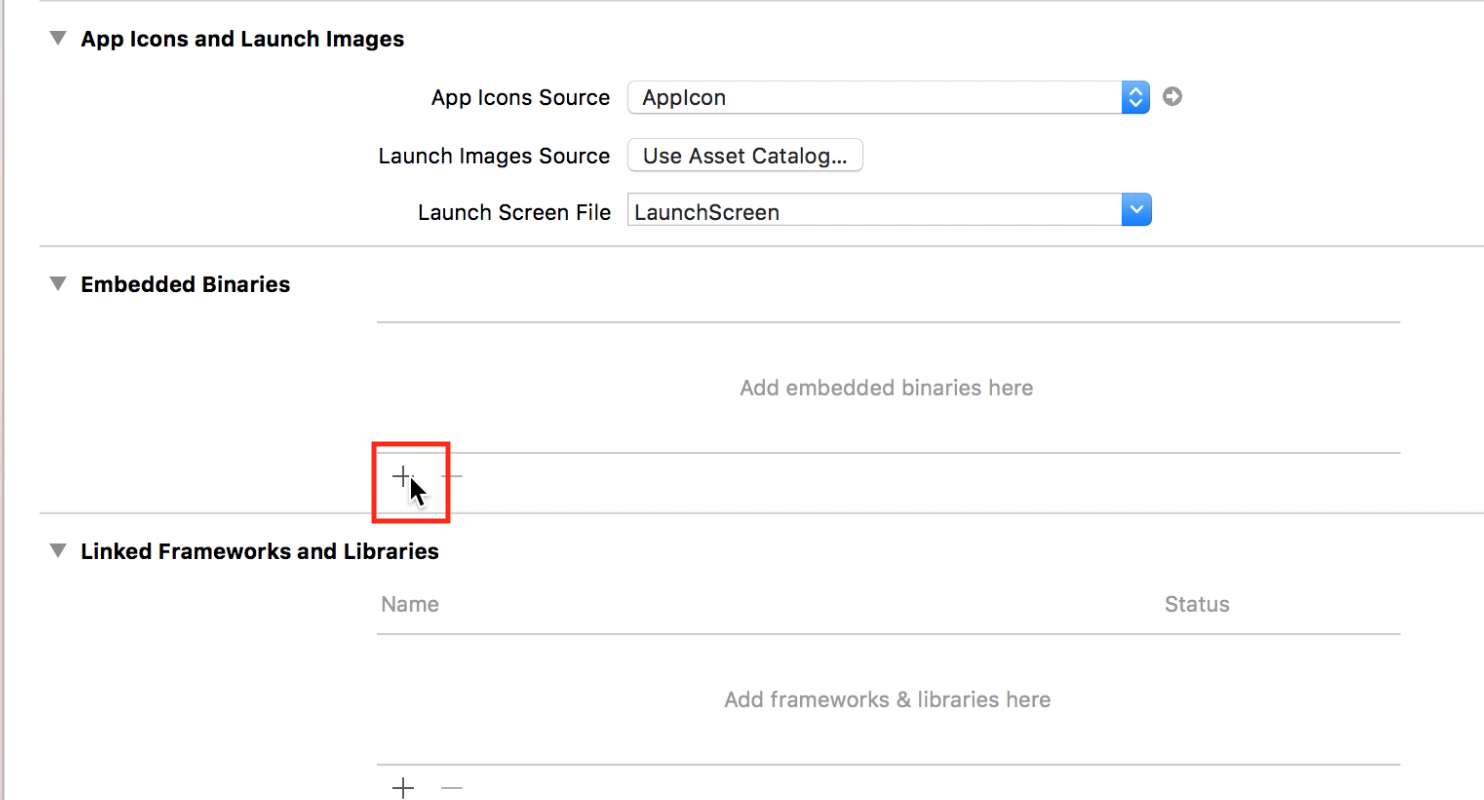
- Go to your target’s General configuration page and click the + in the Embedded Binaries section.
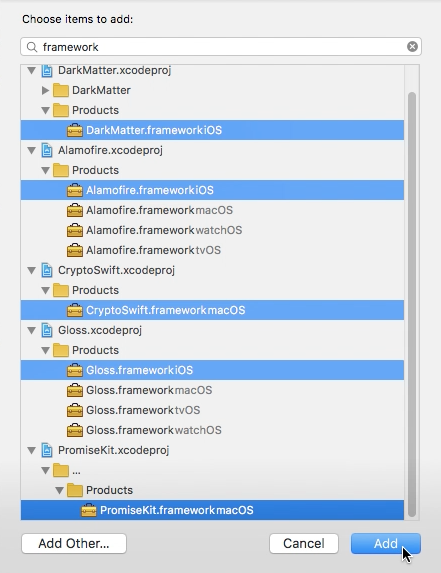
- Select DarkMatter.framework, Alamofire.framework, CryptoSwift.framework, Gloss.framework, and PromiseKit.framework and click Add.
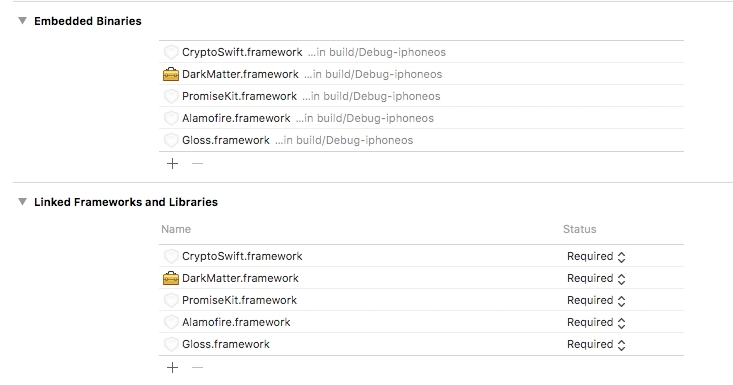
- The Embedded Binaries and Linked Frameworks and Libraries sections should now have the added frameworks.
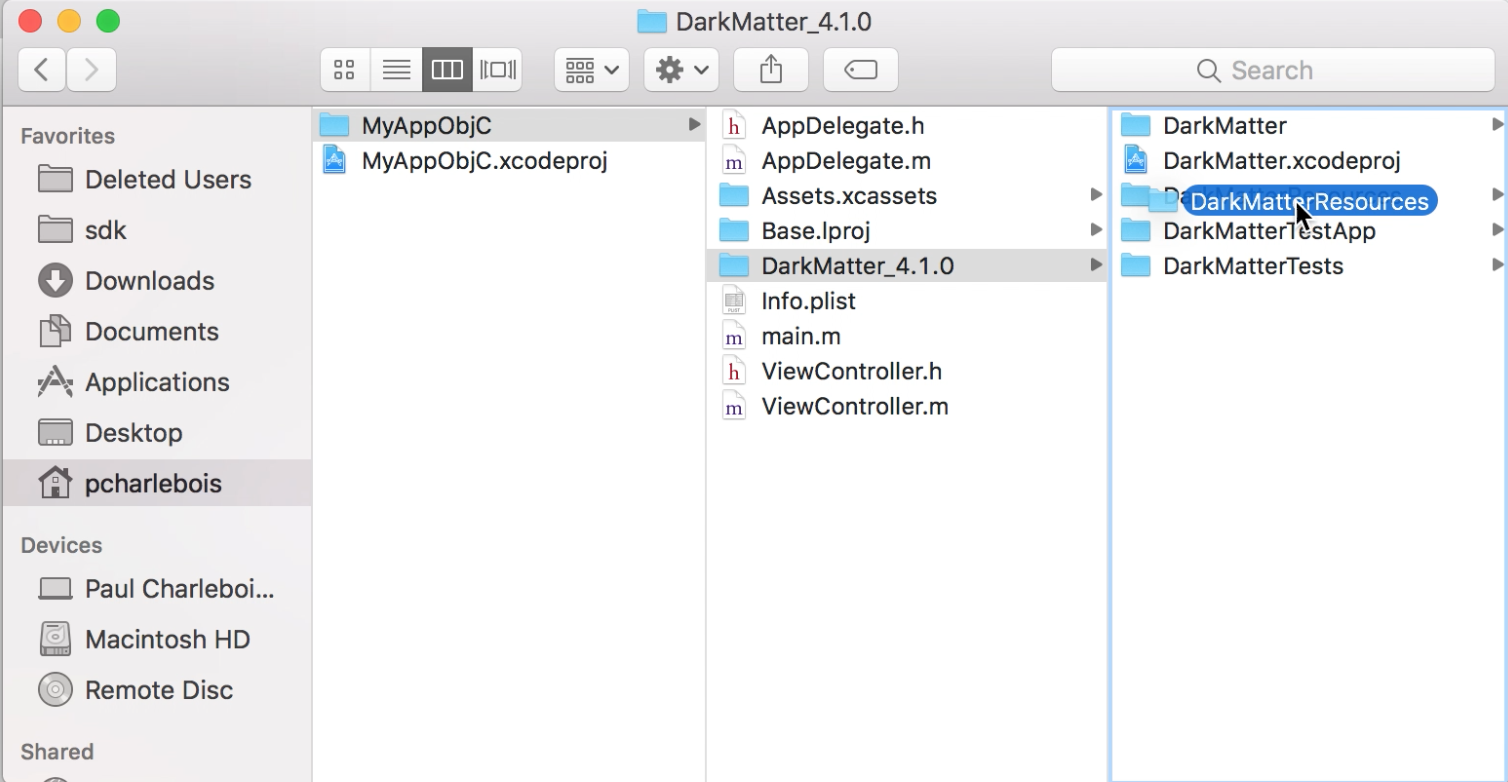
- Drag the DarkMatterResources folder into your Xcode project.

Configuration
- Configure App Transport Security: Some ads may not load if ATS is enabled. If you are using ads ATS should be disabled in your Info.plist file to ensure all ads can be loaded.
<key>NSAppTransportSecurity</key>
<dict>
  <key>NSAllowsArbitraryLoads</key>
  <true/>
</dict>

- Configure Usage Descriptions: Some ad network sdks require the addition of a usage description string for calendar and photo library in the Info.plist file. The strings can be anything you want and if you already have any of these in your plist they don’t need to be changed.
<key>NSCalendarsUsageDescription</key>
<string>This interaction requires calendar access.</string>
<key>NSRemindersUsageDescription</key>
<string>This interaction will add a reminder.</string>
<key>NSCameraUsageDescription</key>
<string>This feature requires using the camera.</string>
<key>NSPhotoLibraryUsageDescription</key>
<string>This feature requires a stored image.</string>
<key>NSPhotoLibraryAddUsageDescription</key>
<string>This feature wants to add a photo to your library.</string>
<key>NSLocationWhenInUseUsageDescription</key>
<string>This app wants to display nearby features.</string>
<key>NSMotionUsageDescription</key>
<string>Some ad content may require access to accelerometer for interactive ad experience.</string>

- Configure URL Schemes: This step is optional but could result in a better user experience for certain ad networks. Add the following entries to your Info.plist file to allow the ad sdks to determine if they can land users directly in certain apps.
<key>LSApplicationQueriesSchemes</key>
<array>
<string>fb</string>
<string>instagram</string>
<string>tumblr</string>
<string>twitter</string>
</array>

Using the framework
At this point you should be able to import DarkMatter and build your project successfully.
Swift
To use any DarkMatter class from a swift file simply add import DarkMatter to your swift file and all classes should be available.
Objective-C
To import the DarkMatter framework in an Objective-C file use @import DarkMatter;
The DarkMatter framework is a mix of Swift and Objective-C code but it is mostly written in Swift. There are some features of the Swift language that are not compatible with Objective-C and DarkMatter does make use of some of these features.
The parts of the SDK that use these features can still be used but they won’t be visible to Objective-C code. If you want to use something that isn’t available to Objective-C you can create a wrapper class in Swift that can bridge the gap.